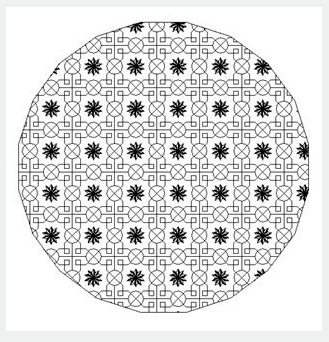
SUPERHATCH command
The SUPERHATCH command is used to create almost any type of fill like image, block, xref and wipeout, all you need to do is make a block of the pattern that you want to tile as your hatch.
Command Access :
Command : SUPERHATCH
Menu : Express>Draw>Superhatch
The Superhatch dialog box is displayed:
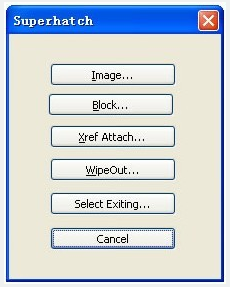
Image : Accesses the Select Image dialog box to specify the image for the hatch pattern.
Block : Opens the Superhatch_Insert dialog box to specify the block for the hatch pattern.
Xref Attach : Accesses the Select reference file dialog box for specifying an xref file for a hatch pattern.
WipeOut : Selects a wipeout object as a hatch pattern.
Select Existing : Selects an existing image, block, xref, or Wipeout as a hatch pattern.
For Images:
1. Open Superhatch dialog box.
2. Click Image... button, choose an image file, the Superhatch Imageraster dialog box is displayed:
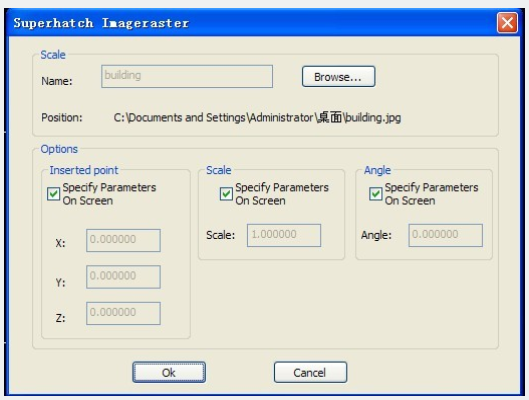
3. Pick the OK button in the Superhatch Imageraster dialog box, specify insertion point, scale factor and angle of rotation.
4. The prompt "Is the placement of this IMAGE acceptable? [Yes/No]<yes>":
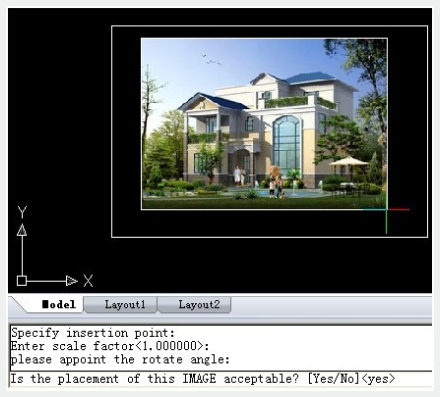
5. Pick a point in the rectangle, press ENTER to finish.
For Blocks:
1. Open Superhatch dialog box.
2. Click the Block... button to access the Superhatch_Insert dialog box:
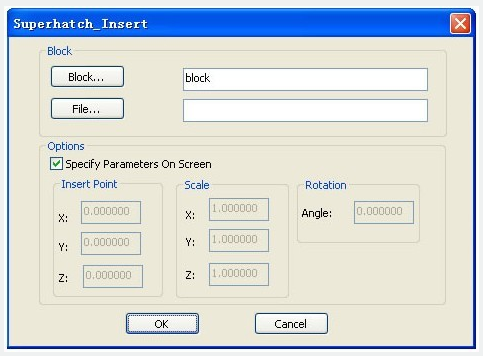
Block: Click the Block... button to select a block in the current file:
File: Pick the File... button to select a drawing file as the block.
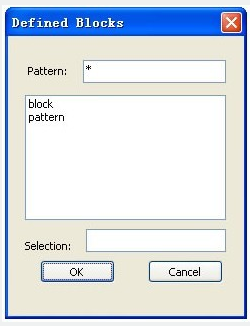
3. Select the block in the Defined Blocks dialog box and press OK.
Note: Adjust insertion parameters on screen or deselect the check box to preset insertion parameters:
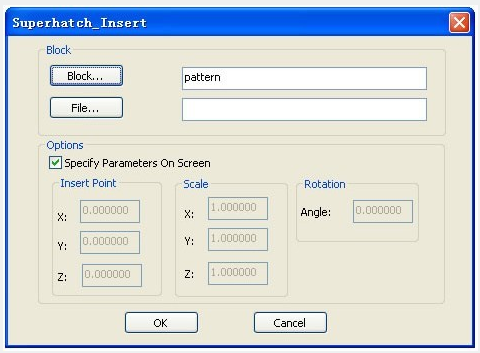
4. Specify insertion point, scale factor and angle of rotation.
5. The prompt "Is the placement of this IMAGE acceptable? [Yes/No]<yes>"is displayed. Choose No to Esc. If you choose Yes, GstarCAD will ask you to specify the first point:
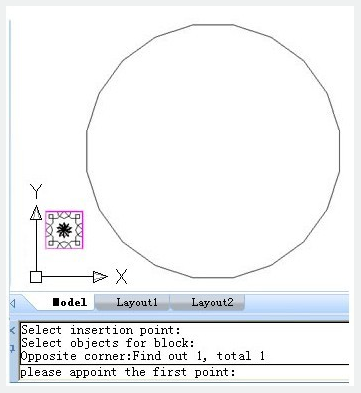
Then GstarCAD will ask you to specify the next point:
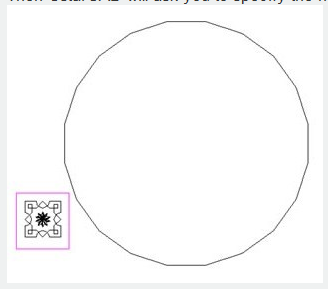
6. Specify an internal point for hatch boundary:
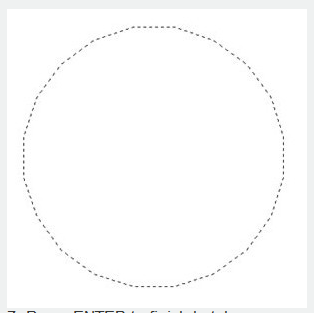
7. Press ENTER to finish hatch:
